Open incident on shipment error
Now that you have created a workflow to create a shipment using the YubiEnterprise Delivery API, let’s use what we've learned to open an incident if the shipment failed after creation. This page will use concepts taught in the previous sections such as creating an action, updating and configuring a flow, as well as calling the YubiEnterprise API.
Create an action to get shipment details
We will start by creating an action that will allow us to get information about a specific shipment. We will use this information to detect if an error has occurred to open an incident on behalf of the user.
Action properties
On the ServiceNow home screen, search for flow designer.
Click Flow Designer, a new window should open.

Once the Flow Designer page opens, click the Create new button, then select Action.

A menu will appear to configure the action's properties. Use the following values to initialize your action.
- Action name: YubiEnterprise get shipment
- Application: YubiEnterprise Delivery App
- Description: Get information about a specific YubiEnterprise shipment
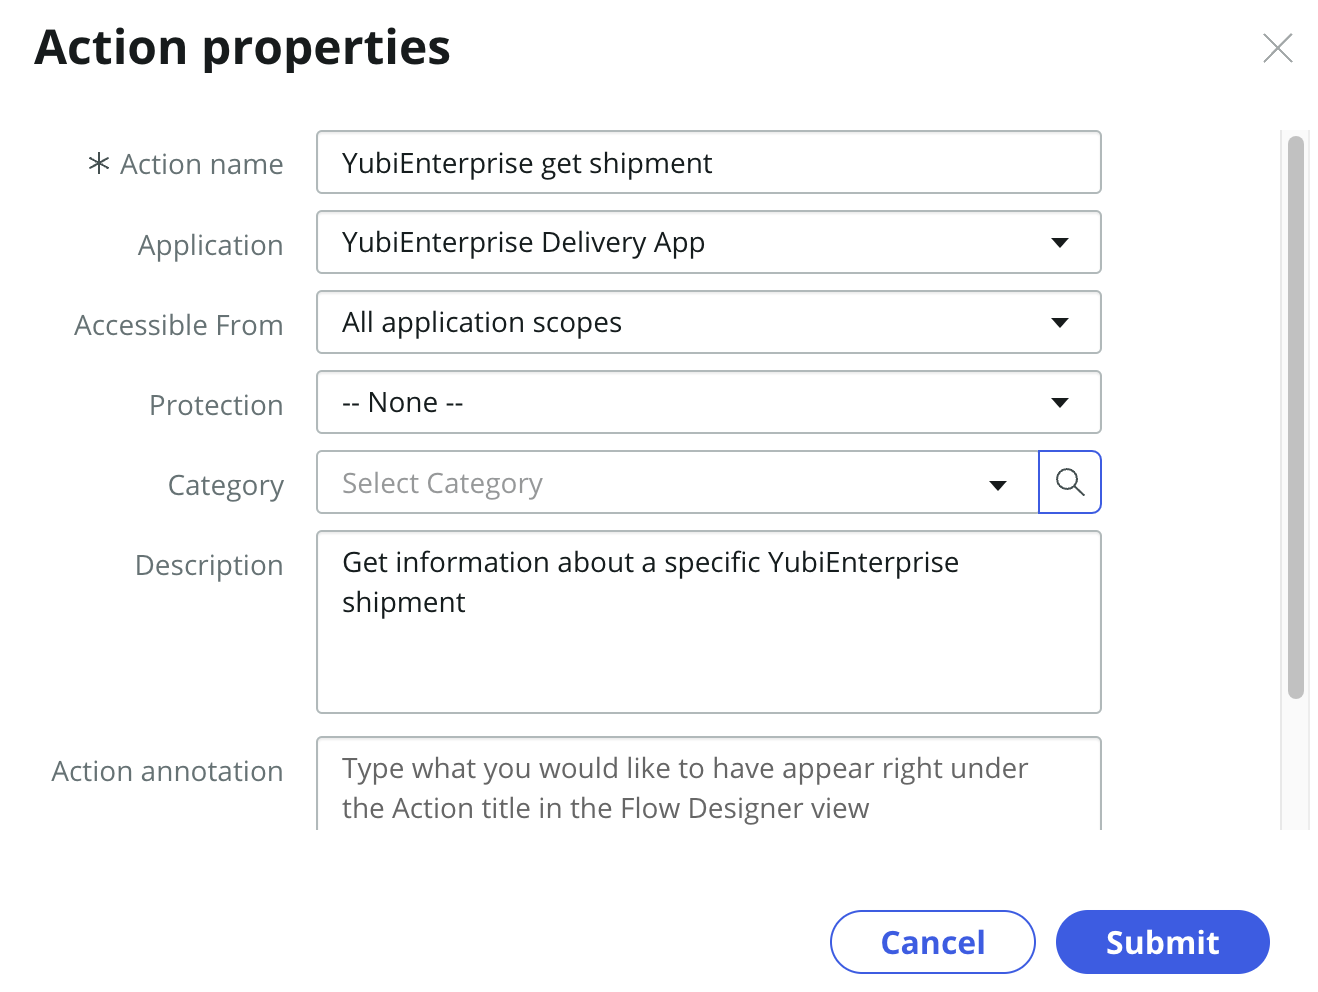
Click Submit.
Action inputs
Next we are going to configure the inputs that go into the action. These inputs are the parameters that are going to be passed into our API call by our flow.
For each row in the table below, perform the following steps:
- Click the +Create Input button at the top.
- Fill in the input using the data provided below to the corresponding field (note that name will be automatically input).
| Label | Type | Mandatory |
|---|---|---|
| Shipment ID | String | on |
Your actions input menu should look like the example below.

Click Save once your inputs are complete.
API REST call
Next we will configure the action step for making the REST HTTP call to the YubiEnterprise Delivery API.
On the left side, in the Action Outline, click the bottom blue + button.
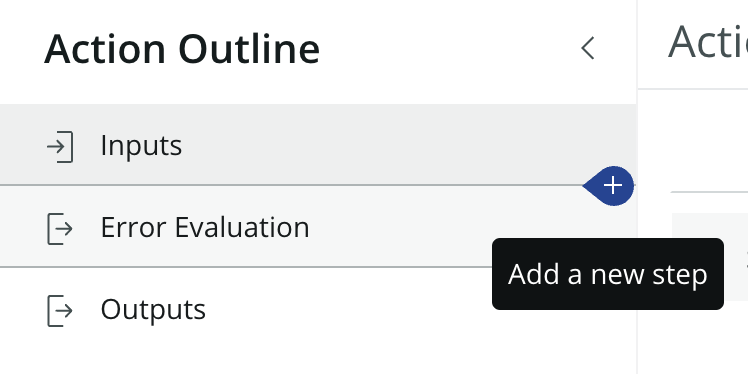
Search for rest and select the REST option
If the REST option does not appear then you have not activated the IntegrationHub plugin. Follow the instructions in the prerequisites section.

Connection details
First we will add our API credentials to the REST call. We will utilize the connection alias that was created earlier in this guide.
Ensure that the Connection field is set to Use Connection Alias.
Change the Connection Alias to the one created earlier in the guide. The Base URL should be set automatically based on the connection alias.
Your connection details should look like the example below.

Request details
Next we will configure the details of the API method call. We will be utilizing the GET /shipments_exact/{id} API method
Configure the Request Details section with the following values:
- Build Request: Manually
- Resource Path: Type /shipments_exact/ then drag the Shipment ID data pill to the end of the url (see the image below for an example)
- HTTP Method: GET
The Headers should include two header properties using the values below
| Name | Value |
|---|---|
| Accept | application/json |
| Content-Type | application/json |
Your request details should look like the example below.

Output script
We will now create a script to format the outputs of the action. This will ensure that we are able to not only capture data from a successful shipment, but to identify and understand potential errors with our shipment.
On the left side, in the Action Outline, click the bottom blue + button.
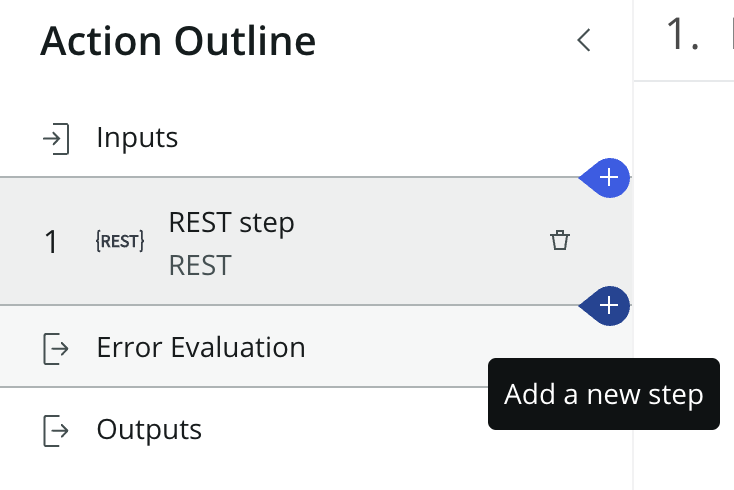
Search for scripts and select the Script option

Script inputs
We'll start by creating the input for the script. We will only create one input, which will be the result of the previous REST step call
- Click the +Create Variable button
- Name: responseBody (case sensitive)
- Value: Drag the Response Body data pill from the REST step section on the right side of the menu
Your script inputs menu should look like the example below.

Adding the script
Next we are going to add a script to Script field. Copy the script provided below into the Script field.
(function execute(inputs, outputs) {
  outputs.shipment_response = inputs.responseBody;
  const response = JSON.parse(inputs.responseBody);
  outputs.shipment_request_id = response.shipment_id;
  outputs.shipment_state_id = response.shipment_state_id;
  outputs.shipment_state_message = response.shipment_state_message;
  const messages =
    response.shipment_messages === undefined
      ? ""
      : JSON.stringify(response.shipment_messages);
  outputs.shipment_messages = messages;
})(inputs, outputs);
Script outputs
Lastly, we will add the output variables for the script
For each row in the table below, perform the following steps:
- Click the +Create Variable button at the bottom.
- Fill in the input using the data provided below to the corresponding field (note that name will be automatically input).
| Label | Type | Mandatory |
|---|---|---|
| Shipment Response | String | off |
| Shipment Request ID | String | off |
| Shipment State ID | Integer | off |
| Shipment State Message | String | off |
| Shipment Messages | String | off |
Your script outputs menu should look like the example below.

Click Save once your output script is complete
Action outputs
Lastly we will define the outputs of the action. These outputs will be usable by the final flow that will orchestrate the ordering experience. We want to ensure that the action outputs are able to express details about the shipment, and any issues should they have occurred.
We will start by clicking the Outputs tab in the Action Outline pane.
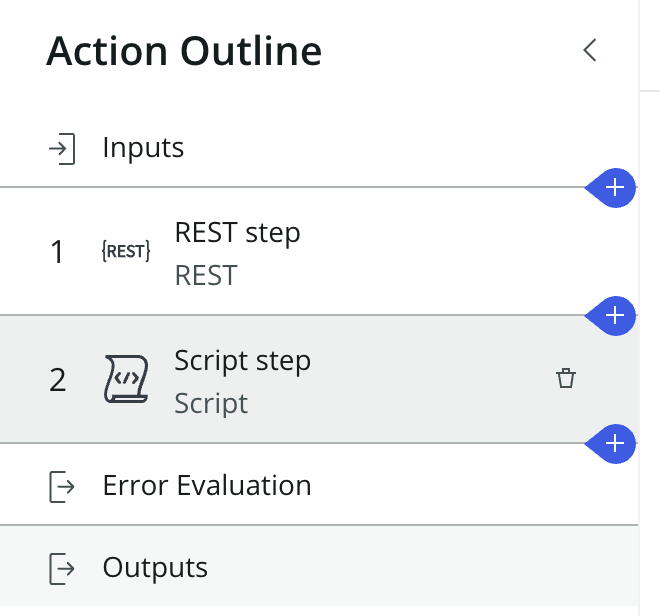
Next we are going to configure the outputs.
For each row in the table below, perform the following steps:
- Click the +Create Output button at the top.
- Fill in the input using the data provided below to the corresponding field (Note: Unlike the previous examples, the Name field is not auto-populated).
| Label | Name | Type | Mandatory |
|---|---|---|---|
| HTTP Status Code | http_status_code | String | off |
| HTTP Error Code | http_error_code | String | off |
| HTTP Error Message | http_error_message | String | off |
| Shipment Request ID | shipment_request_id | String | off |
| Shipment State ID | shipment_state_id | Integer | off |
| Shipment State Message | shipment_state_message | String | off |
| Shipment Messages | shipment_messages | String | off |
Your actions outputs menu should look like the example below.

Once complete, press the Exit Edit Mode button on the top of the menu.
A new menu should appear showing the outputs you just defined with empty Value fields. For each output, you will add a data pill from the REST step and the second Script step sections on the right side of the menu
Use the table below to correlate the correct data pill to a label.
| Label | Section > Data pill |
|---|---|
| HTTP Status Code | REST step > Status Code |
| HTTP Error Code | REST step > Error Code |
| HTTP Error Message | REST step > Error message |
| Shipment Request ID | Script step > Shipment Request ID |
| Shipment State ID | Script Step > Shipment State ID |
| Shipment State Message | Script step > Shipment State Message |
| Shipment Messages | Script step > Shipment Messages |
Your actions outputs menu should look like the example below.

Click Save once your outputs are complete
Test the action
Lastly we want to ensure that a shipment can be made from our action. This will be used to ensure that our API credentials + script + REST call are configured correctly.
At the top of the Actions menu, click the Test button

A menu should appear, which will ask for a Shipment ID. This ID will correlate to an actual shipment in your YubiEnterprise Console.
Please navigate to your YubiEnterprise Console to get a valid Shipment ID. If no orders exist in your system, then attempt to process a new shipment using the method discussed earlier in this tutorial, or create one directly in the console itself.
Below are some tips and pitfalls to watch out for in this initial test
- If you receive a 401 error, that means your API credentials are not correct
- If you receive a 400 error, that means that you did not provide a valid shipment. Please create an order in the YubiEnterprise Console, and use the Shipment ID that is provided
When ready click the Run Test button at the bottom of the screen.
Wait on the current page until a message appears saying "Your test has finished running. View the action execution details."

Click on the message to see the execution details.
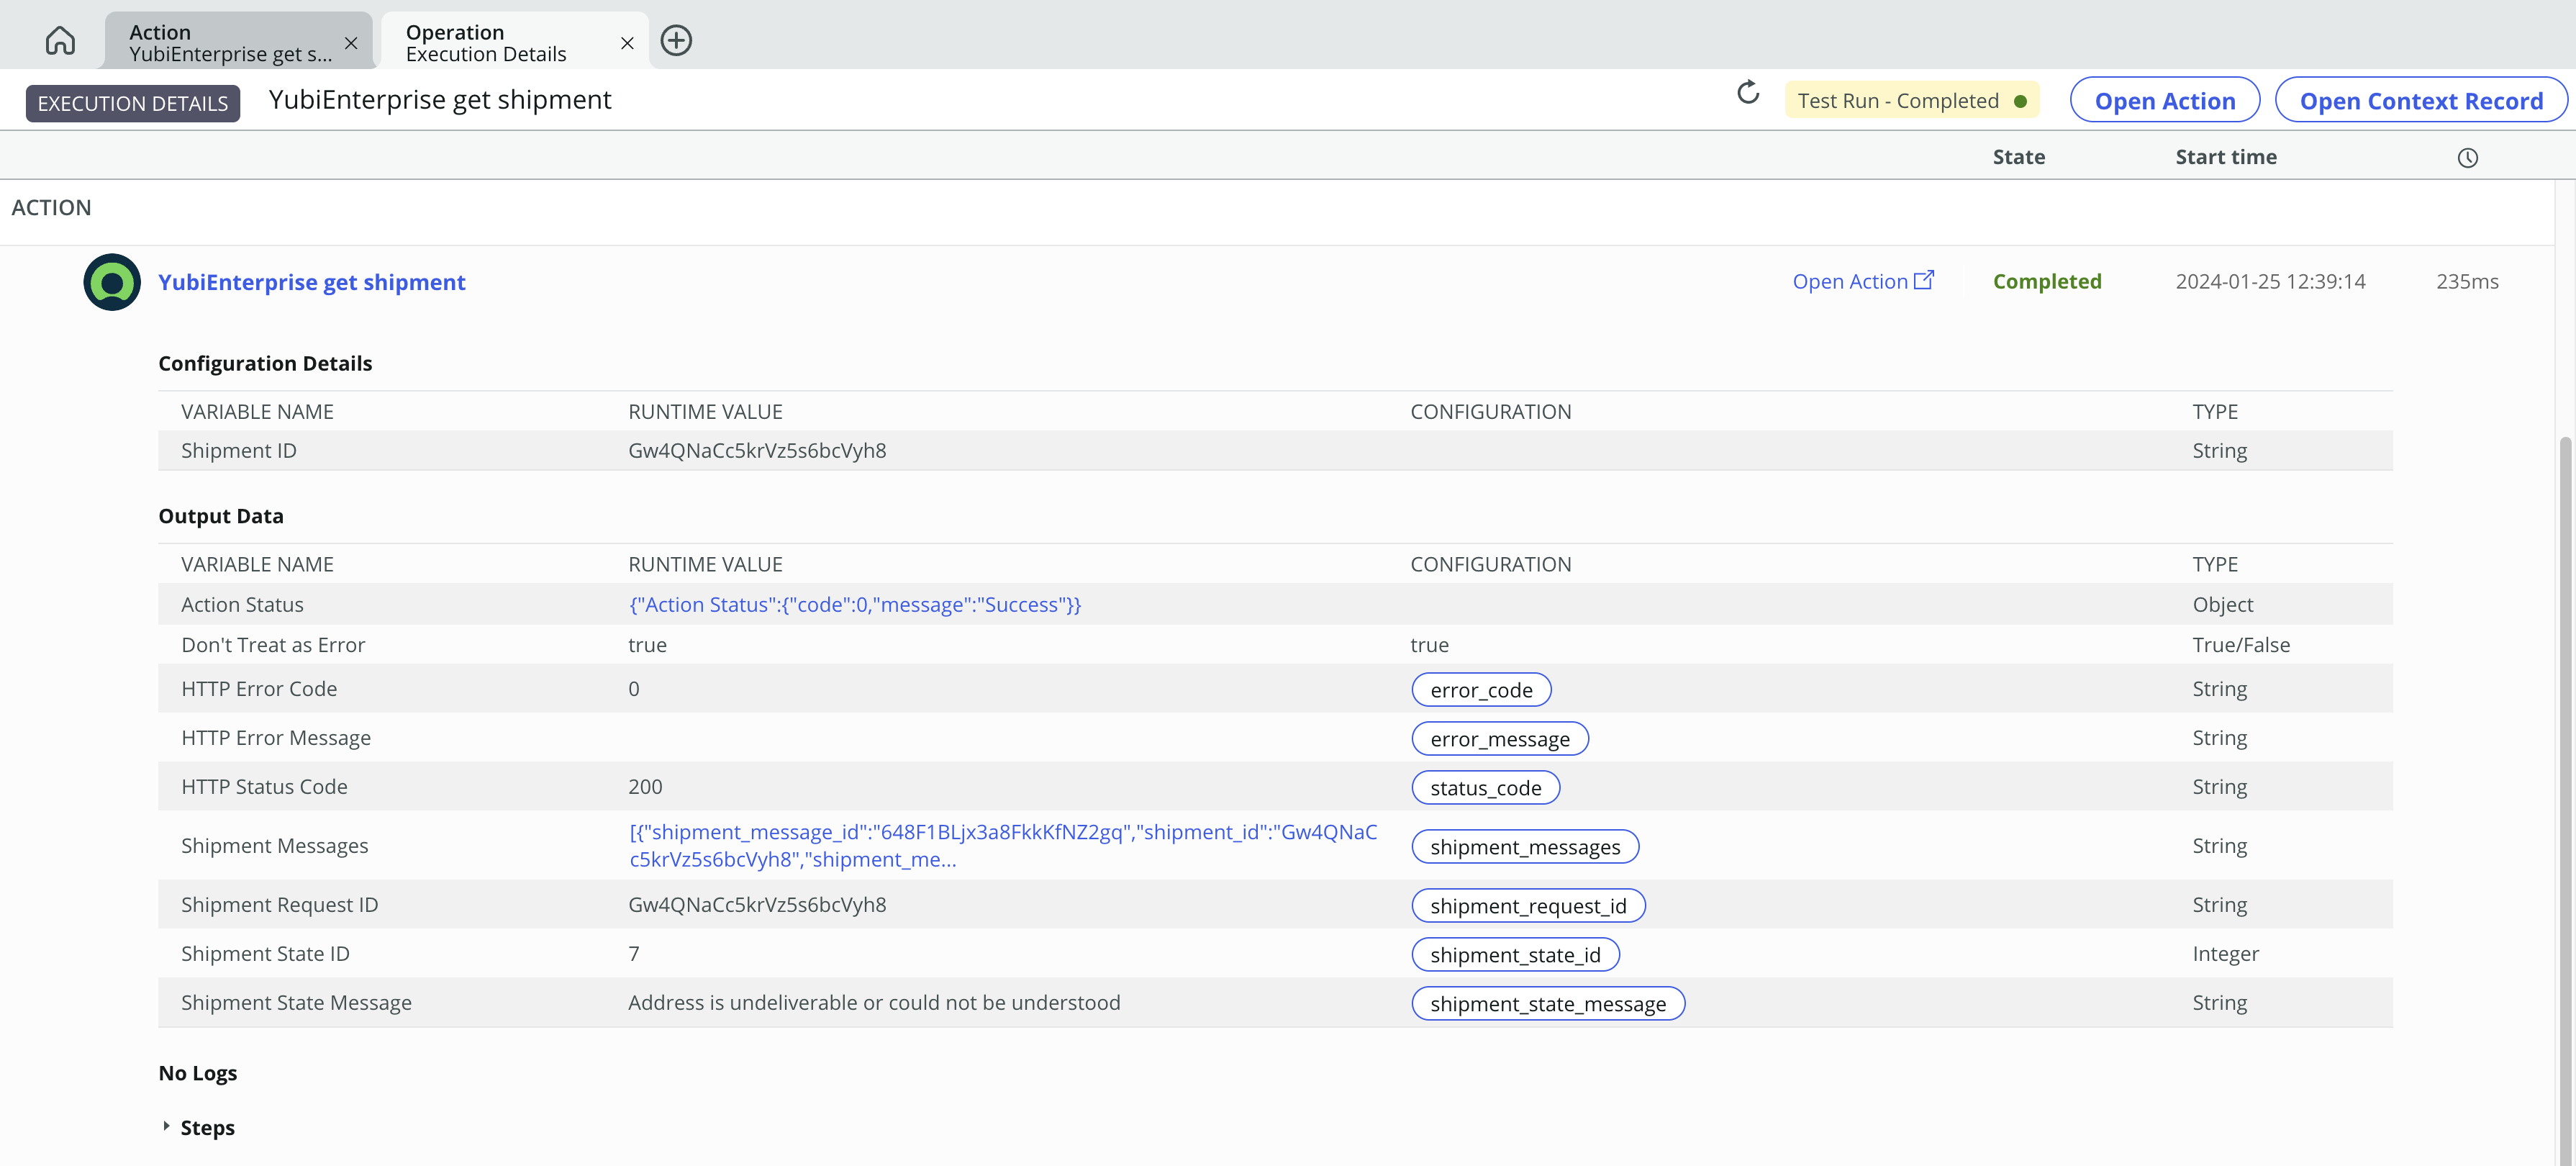
On the execution details screen, scroll until you see the Output Data section. The HTTP Status Code should be 200. If the response was not 200, take a look at the tips above, check the error message output, or expand the Steps section at the bottom of the details screen to troubleshoot.
Below is an example of a successful outputs screen
Delete the test order
After every test it is important that you delete any orders directly in the YubiEnterprise Console - See more information here - Cancelling Your Test Orders
Publish the action
If everything looks good, click the Publish button at the top of the action menu to make the action available for all flows.
Update the create shipment flow
We will now update the flow created earlier in this guide to monitor a shipment's activity, and to open an incident if an error were to occur. We will add a loop to the end of the existing flow to continuously check the created shipment for errors. The flow will be closed once the shipment has been marked as received, or if an incident was opened due to an error.
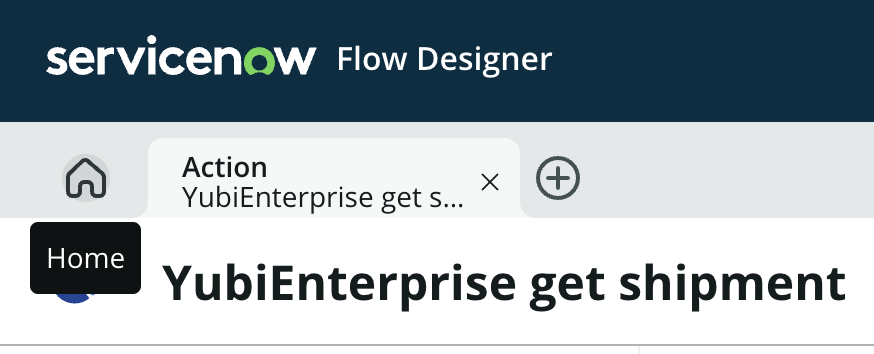
On your current screen, click the Home icon on the top left of the screen.
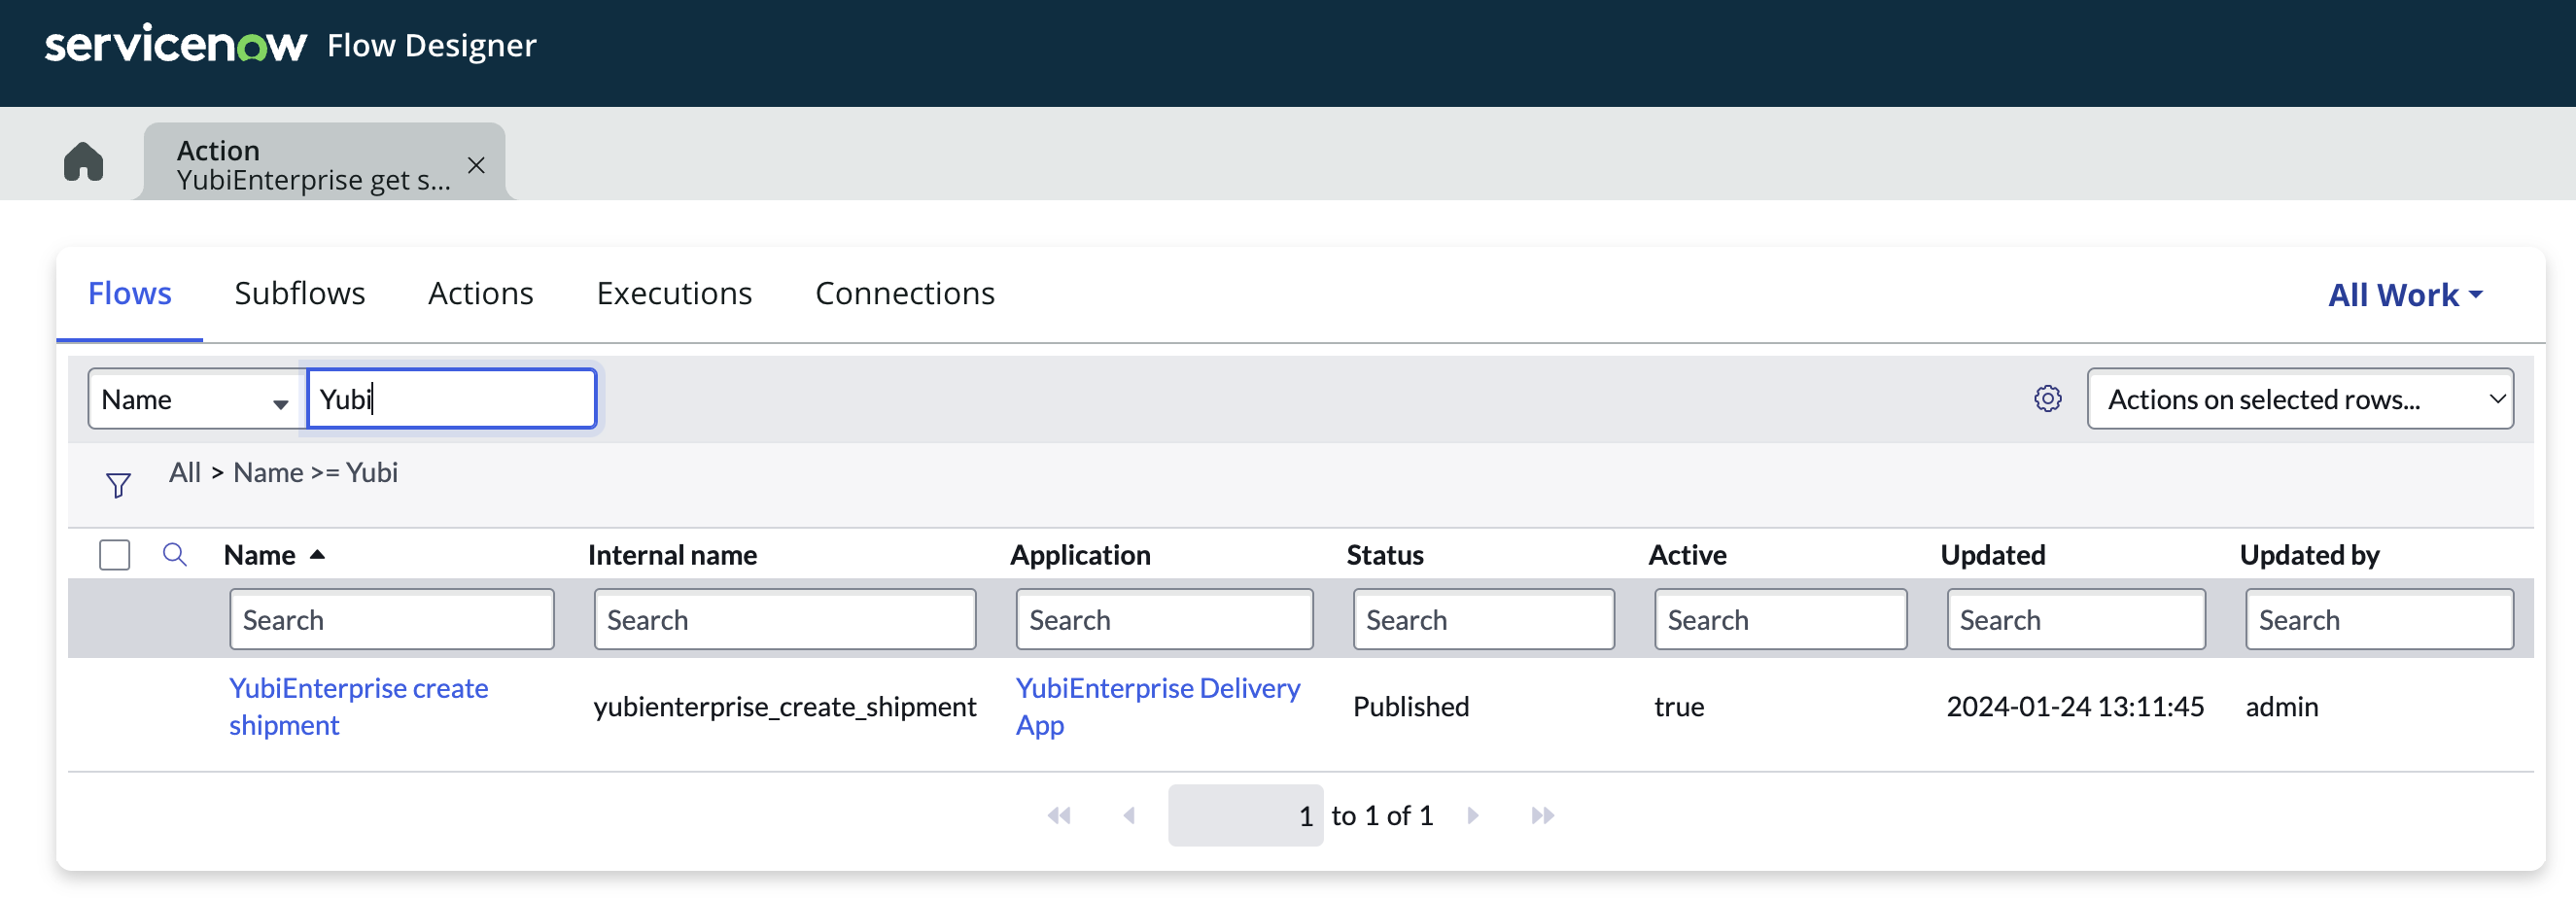
From the Flow Designer home screen, ensure the Flows tab is selected.
In the search field type Yubi then click enter. The flow that we previously created should appear, titled YubiEnterprise create shipment.
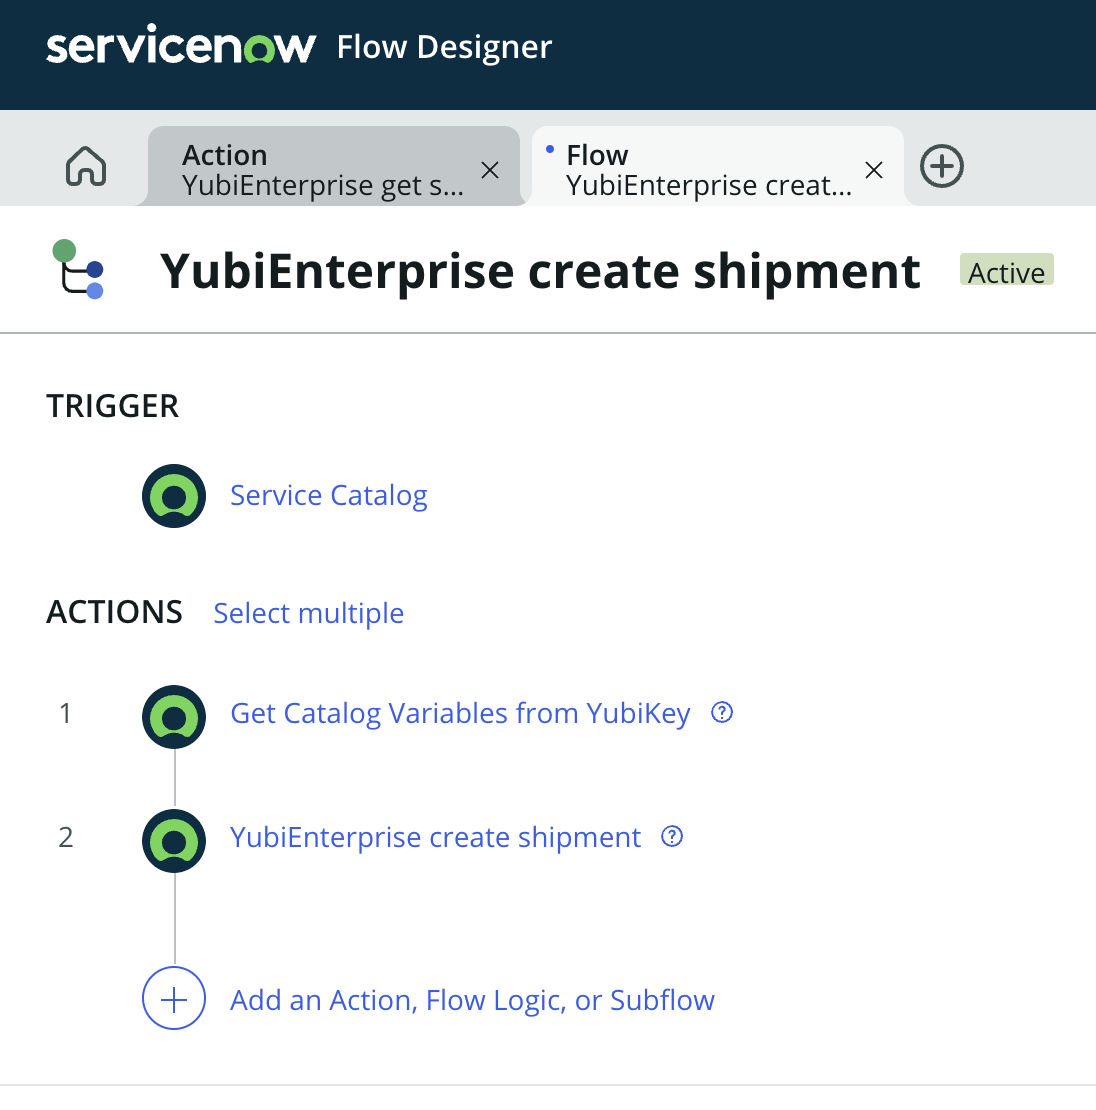
Click into the flow.
You should now be in the YubiEnterprise create shipment flow.
Create flow variable
We will need to create a flow variable to keep track of the current shipment state ID. Perform the steps below to create a flow variable.
- Click the 3 dots on the top right of the screen
- Click Flow Variables
- Click the small + button on the right of the pop-up menu
- Set the Label to Current shipment state ID.
- Set the Type to Integer
Your final settings should resemble the image below.

When complete, click the X button on the top right of the pop-up.
If you scroll to the top of the Data window on the right side, you should see your new flow variable.
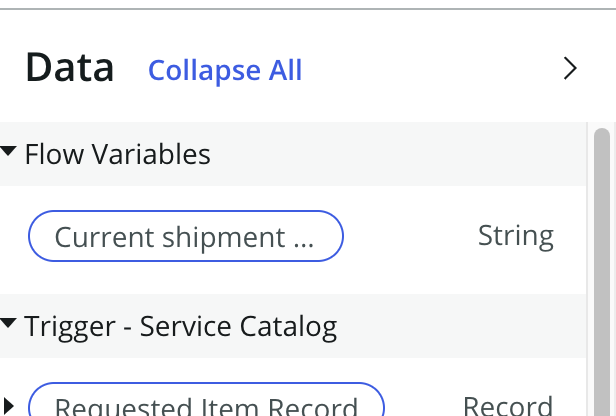
We will now set the flow variable using the shipment_state_id that was provided when we created the shipment.
At the bottom of the flow click the + Add an Action, Flow Logic, or Subflow button.
Next, select Flow Logic.
Next, search for set, then select Set Flow Variables.
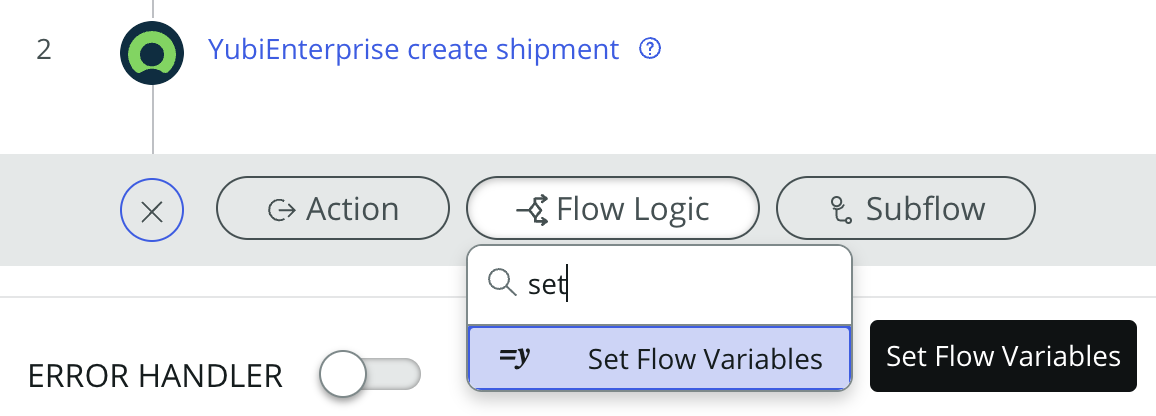
A new menu will appear. Begin by clicking the + button in the new menu.
In the Name field, select the flow variable Current shipment state ID.
Drag the Shipment State ID value from the Data window on the right, in the 2 - YubiEnterprise create shipment section.
Your resulting menu should resemble the image below.

When complete, click Done.
Create daily cron job
Next we will create a cron job that will continuously monitor the shipment that was previously created in the flow. The YubiEnterprise API does not provide webhooks, so we will need to continuously poll the API to catch any changes.
Due to the physical and logistical nature of a shipment, the state doesn't undergo rapid changes in a single day. Due to these considerations, we recommend that you poll the API once or twice a day.
You may also consider adding a check that occurs ~15 mins after the initial creation of a shipment to ensure that all of the data was properly validated.
This example focuses only on the mechanism that runs once a day at a designated time - but the same foundational steps can be used to create a variety of timers based on your use case.
First we will create a conditional loop that will run until the shipment has been marked as delivered. Delivered is indicated by the shipment_state_id of 104.
The full list of shipment states can be found here.
Follow the steps below to create the conditional loop.
- Click Add an Action, Flow Logic, or Subflow
- Click Flow Logic
- Select Do the following until
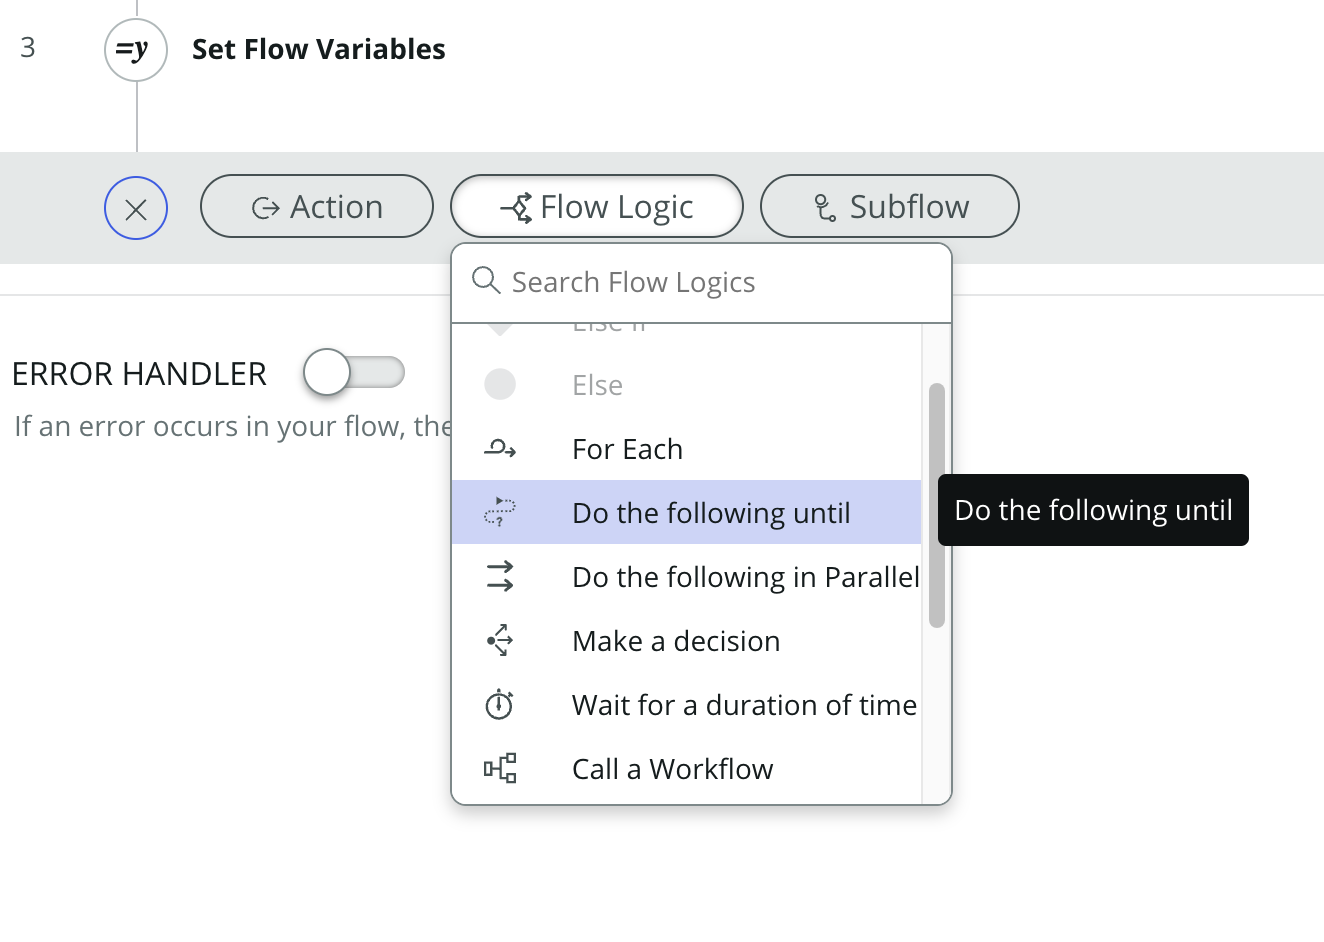
A new menu should appear. Configure it with the following values:
- Condition Label: Shipment is delivered
- Condition 1
- Drag the Current shipment state ID flow variable into the first box
- Keep the condition as is
- In the third box, type 104
Your final menu should resemble the image below.

When complete, click Done.
Within the Do the following section we are going to add our timer using the instructions below:
- Click Add an Action, Flow Logic, or Subflow
- Click Flow Logic
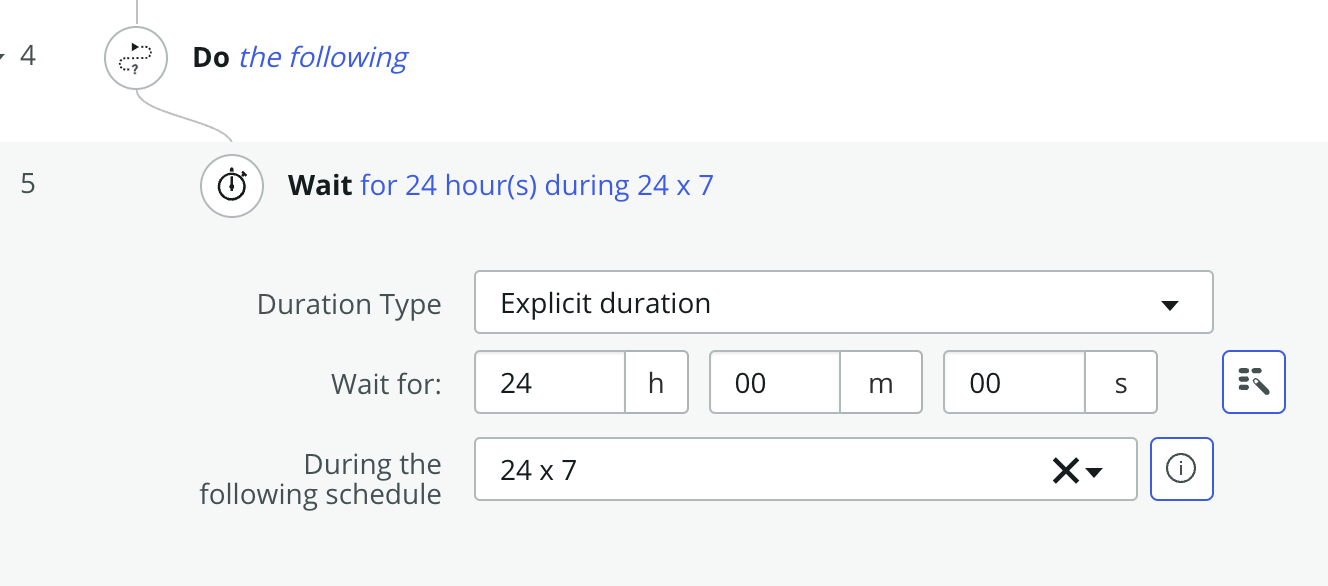
- Select Wait for a duration of time
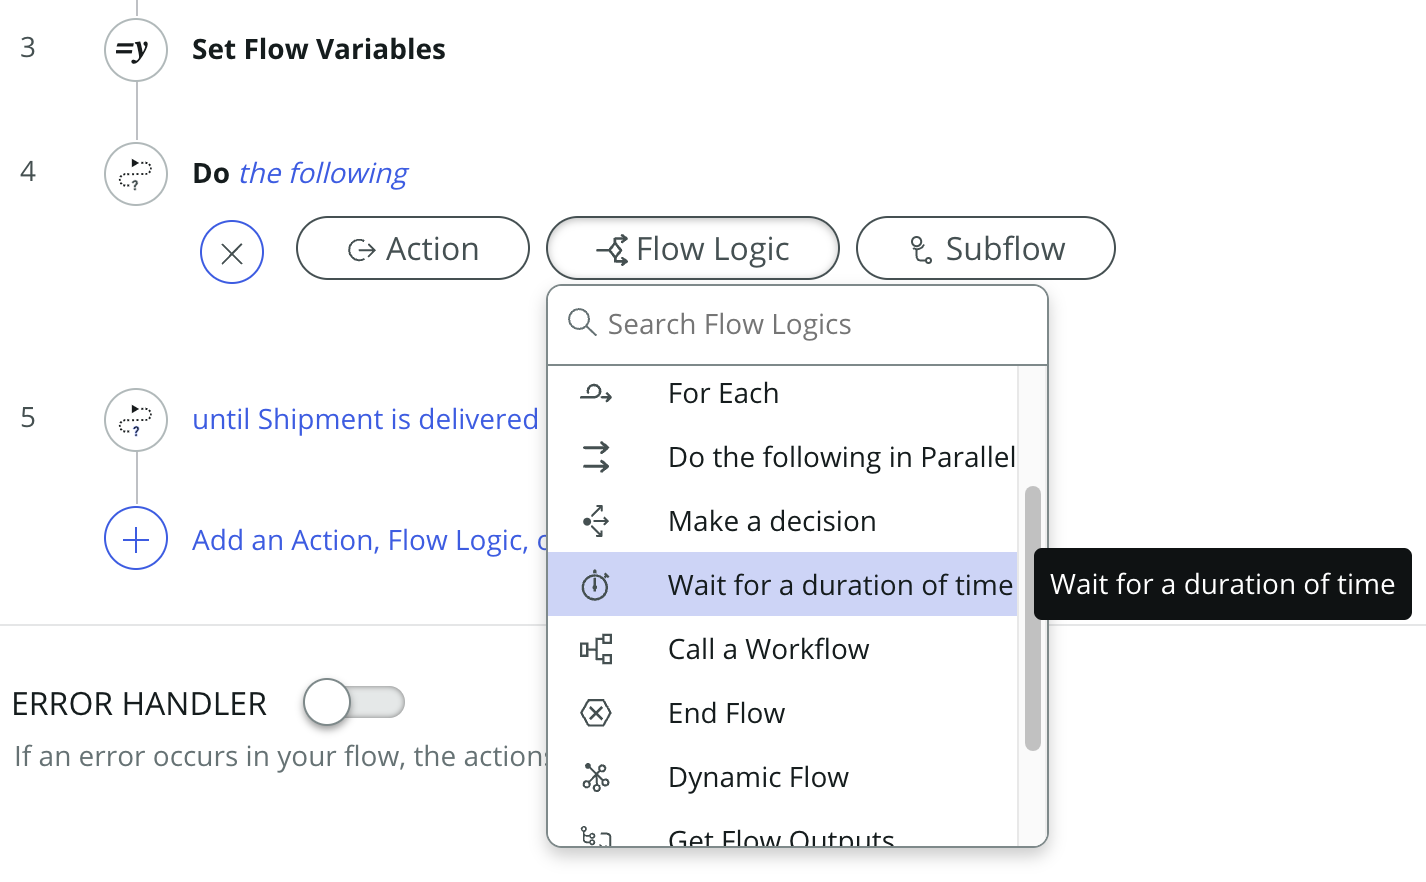
A new menu should appear. Configure it with the following values:
- Duration Type: Explicit duration
- Wait for: 24 h
- During the following schedule: 24 x 7
Your final menu should resemble the image below.
When complete, click Done.
Call the get shipment details action
Next, we are going to use the action that we created previously in this section.
We will begin by adding the get shipment details action to the conditional loop.
Within the Do the following section we are going to add our custom action using the instructions below:
- Click the + button under the Wait step you just added
- Click Add an Action, Flow Logic, or Subflow
- Click Action
- Search for yubienterprise get shipment, and select YubiEnterprise get shipment.
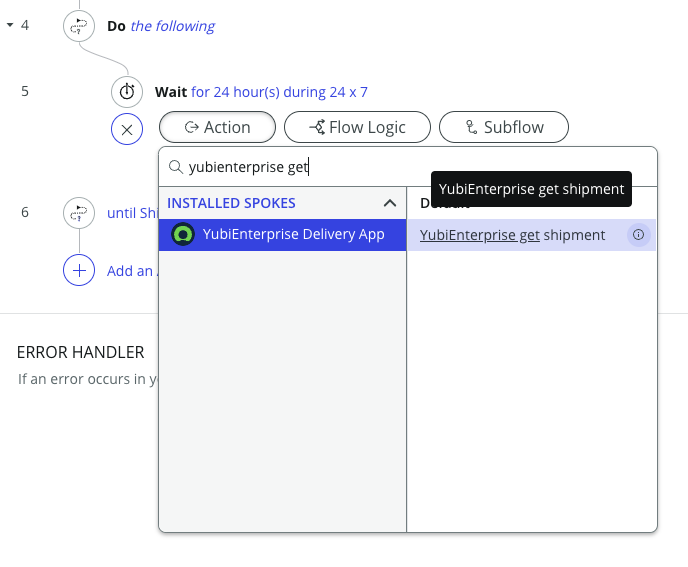
For the field Shipment ID, drag the Shipment Request ID data pill from the Data window, in the section titled 2 - YubiEnterprise create shipment.

When complete, click Done.
Evaluate the shipment state ID for errors
Now that we have updated details for our specific shipment, we are going to evaluate the new shipment state ID to see if an error occurred.
Using this list of shipment state IDs and meanings, we can evaluate the errors that can occur, and take a specific action based on our requirements. A summary of errors can be found in the table below.
| Shipment state ID | Shipment state message |
|---|---|
| 1 | Incomplete Shipping Request |
| 6 | Incomplete |
| 7 | Address is undeliverable or could not be understood |
| 8 | Error: Processing Error, contact Support |
| 9 | Error: DPL Match |
| 99 | Error: Shipping error, contact Support |
| 105 | Shipment Lost/Missing |
| 106 | Delivery Exception |
To simplify this exercise, we will only evaluate errors that occur for shipment state ID 7 and 105. In your final implementation you can decide to process all errors, or a subset based on your requirements.
First we'll start by setting the Flow Variable Current Shipment State ID to the updated state provided by the YubiEnterprise get shipment action.
These steps should resemble the ones taken earlier on this page. Under the YubiEnterprise get shipment action click the + Add an Action, Flow Logic, or Subflow button.
Next, select Flow Logic.
Next, search for set, then select Set Flow Variables.
A new menu will appear. Begin by clicking the + button in the new menu.
In the Name field, select the flow variable Current shipment state ID.
Drag the Shipment State ID value from the Data window on the right, in the 6 - YubiEnterprise get shipment section.
Your resulting menu should resemble the image below.

When complete, click Done.
Click Done.
Next, we're going to add a conditional check to see if any of the errors that we noted above (7 and 105) have occurred.
Under the Set Flow Variables action click the + Add an Action, Flow Logic, or Subflow button.
Next, select Flow Logic.
Next, search for if, then select If.
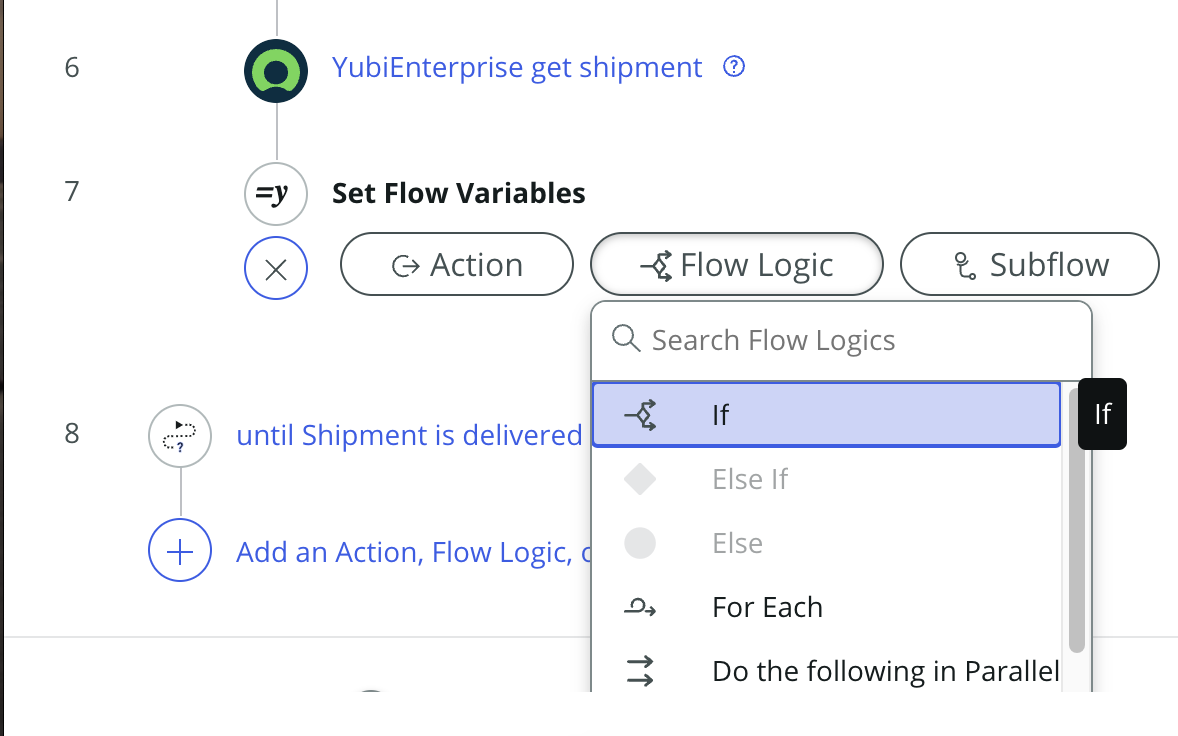
A new menu should appear. Configure it with the following values:
- Condition Label: Shipment error has occurred
- Condition 1
- Drag the Current shipment state ID flow variable into the first box
- Keep the condition as is
- In the third box, type 7
- Click the red or button to the right of the entry
- Condition 2
- Drag the Current shipment state ID flow variable into the first box
- Keep the condition as is
- In the third box, type 105
Your final menu should resemble the image below.

When complete, click Done.
Under the new If step, click the then + button.
Click Action.
Search for create record. Select Create Record in the ServiceNow Core category.
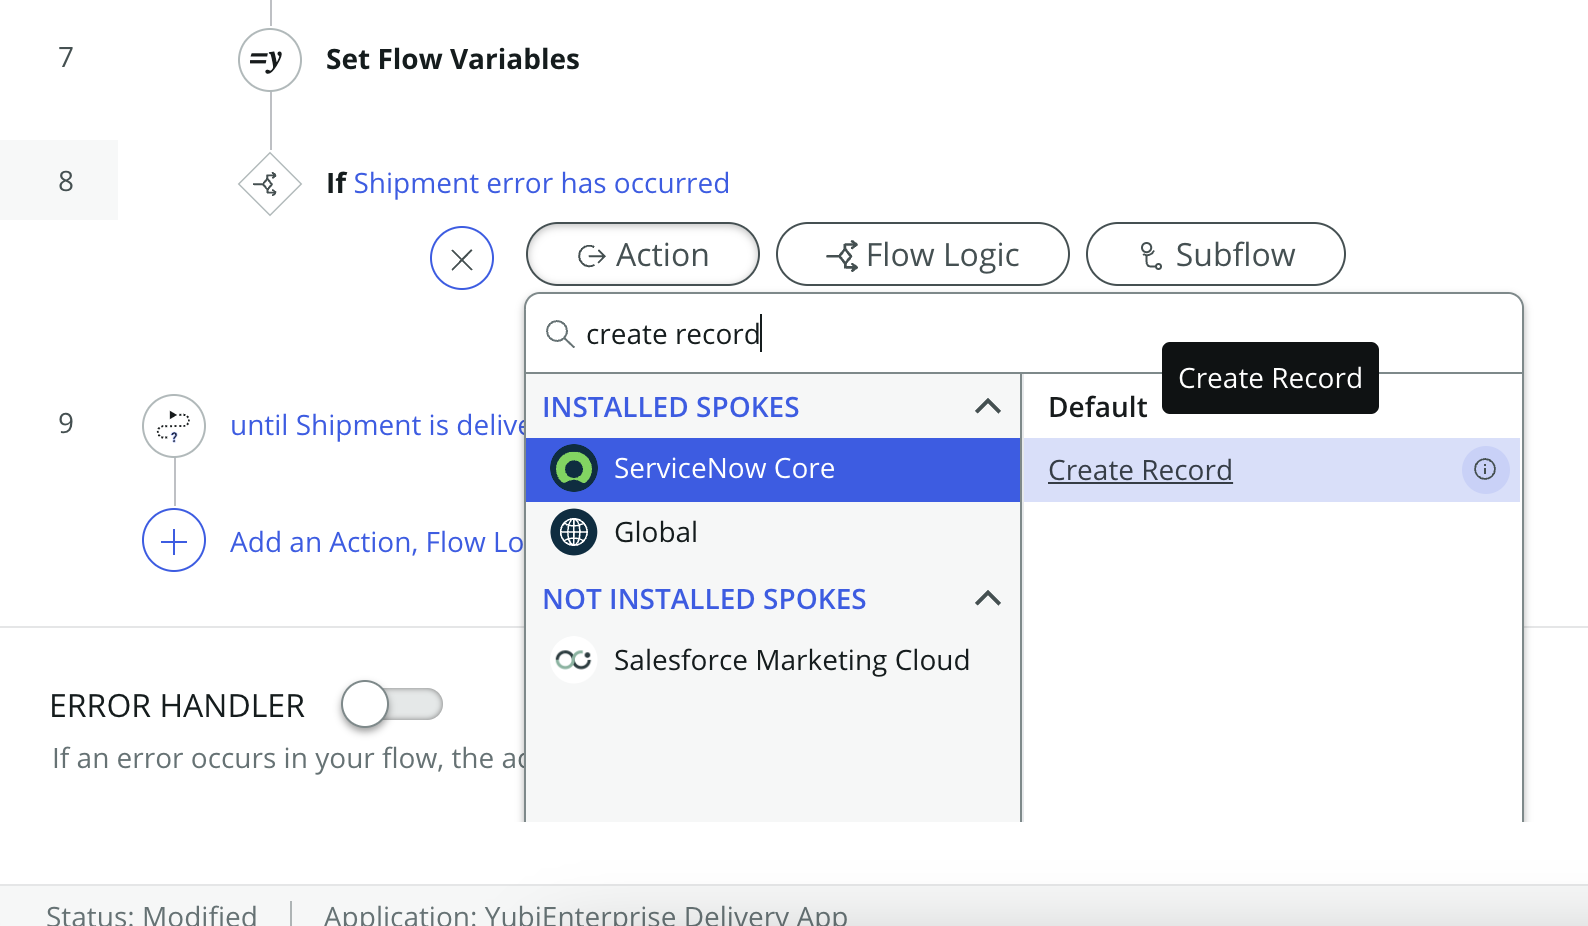
A new menu should appear. Configure it with the following values:
- Table: Select Incident [incident]
- Click the Add field value button 3 times. Add the following fields and values
- Short description: YubiEnterprise Shipment has failed for an unknown reason
- Description: YED Shipment [Add shipment request ID data pill] has failed. Please check the YubiEnterprise console to begin troubleshooting. https://console.yubico.com/shipments/ [Add shipment request ID data pill]
- Caller: Add the data pill Trigger > Requested Item Record > Created By
Your configurations should look like the image below.

When complete click Done.
In order to prevent an influx of incidents from opening in your ServiceNow instance, we will end the flow when an error occurs, and will assume that the shipment will continue to be tracked by your internal incident process.
Click the plus button after the Create Incident Record step that we just added.
Click Flow Logic
Select End Flow
Your final flow additions should look like the image below.
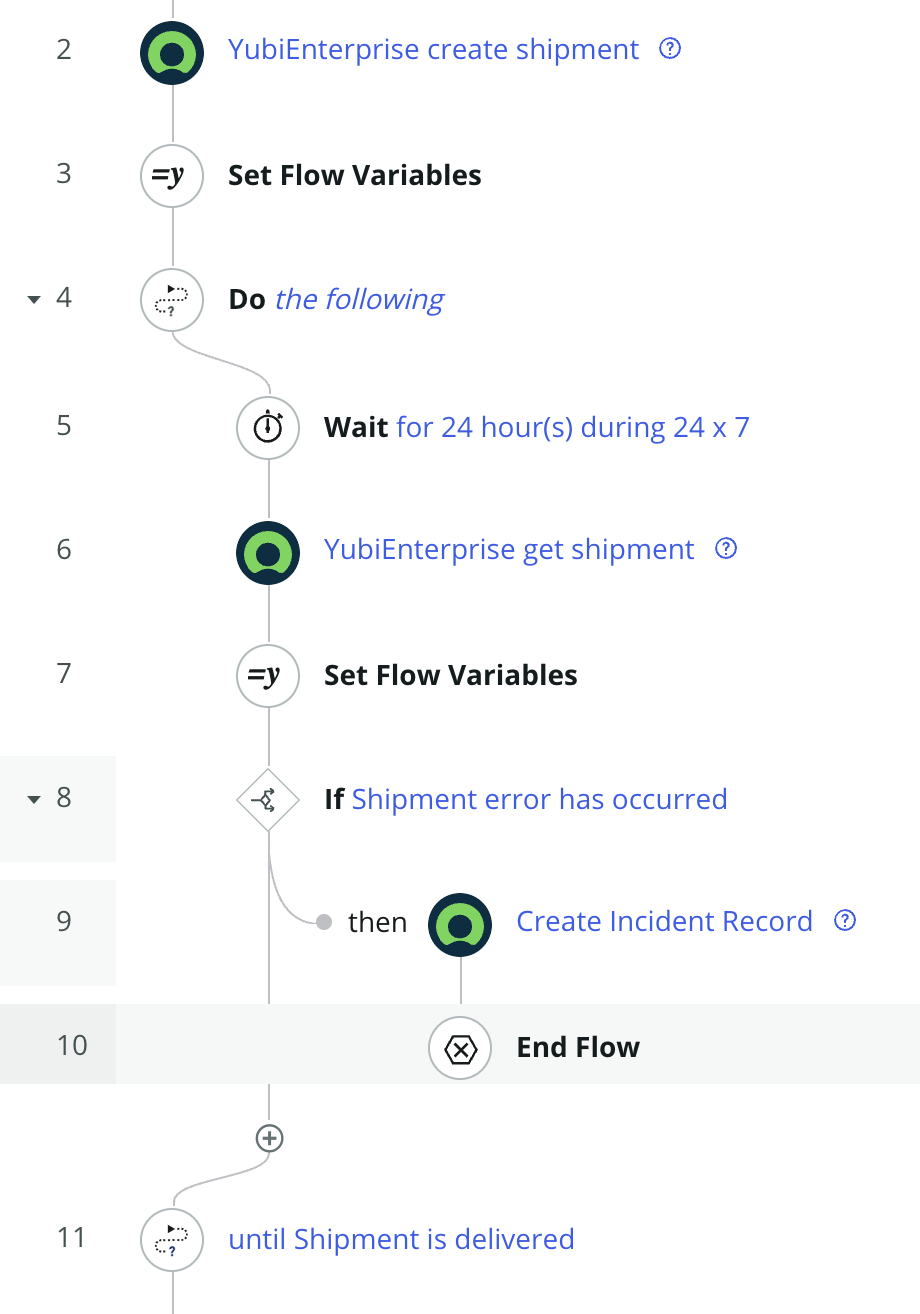
Finally we're going to activate the flow, and get our custom catalog item to trigger it when a new request is made.
Click the Save button at the top of the screen. Once the flow is done saving click Activate.
Test the solution
To ensure this is working correctly, we will test the end-to-end flow. Our primary goal is to have a shipment get accepted by the API, that will fail the initial address validation.
You may want to change the Wait time for your initial test. YubiEnterprise will require a few minutes to process your real shipment - so setting this value between 30mins to an hour may suffice for this initial test.
Use the following values to create a new shipment test, using the method used earlier in this guide.
| Name | Value |
|---|---|
| Who is this request for | {current user} |
| When do you need this? | Today |
| Quantity | 1 |
| Phone Number | 5555555555 |
| Street address | 123 XYZ |
| Apt or Unit # | |
| City | Nowhere |
| Postal Code | 11111 |
| Region | California |
| Country Code 2 | US |
| Recipient | Example Inc. |
| YubiKey model | YubiKey 5 NFC |
Let the flow run, and wait for the shipment to process. If you have the YubiEnterprise console open, you may note that the shipment has thrown an error that indicates "Address is undeliverable or could not be understood".
If you open your incidents table in ServiceNow, you will note that a new incident has been created.

You can open the incident and see information about the specific shipment, including a link that will take you directly to the shipment in the YubiEnterprise console.
