Get Yubico Transport and Signing Keys
Next, we are going to create an action that will pull Yubico's Transport and Signing Keys. These keys are required in order to facilitate a secure transaction by encrypting the PIN and FIDO credential requests and responses.
Action properties
On the ServiceNow home screen, search for flow designer.
Click Flow Designer, a new window should open.

Once the Flow Designer page opens, click the Create new button, then select Action.

A menu will appear to configure the action's properties. Use the following values to initialize your action.
- Action name: YubiEnterprise Transport/Signing Keys
- Application: YubiEnterprise Delivery App
- Description: Pull Yubico's Transport and Signing keys

Click Submit.
API REST call - Transport keys
First we will configure the action step for making the REST HTTP call to get the transport keys
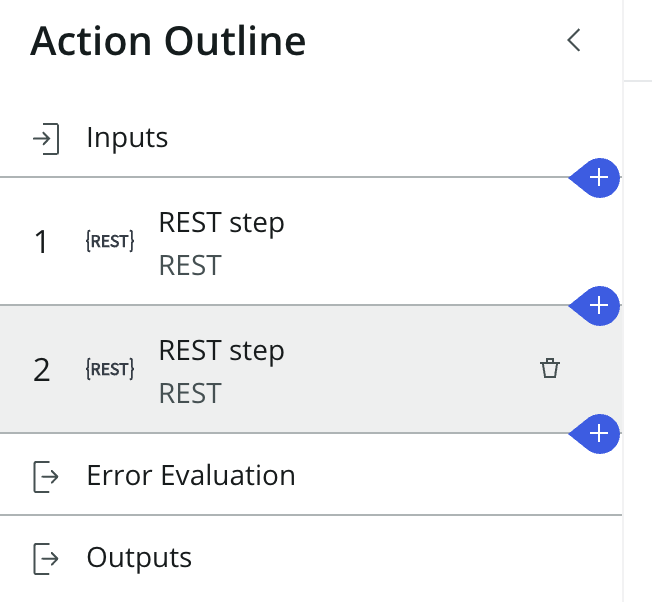
On the left side, in the Action Outline, click the bottom blue + button.
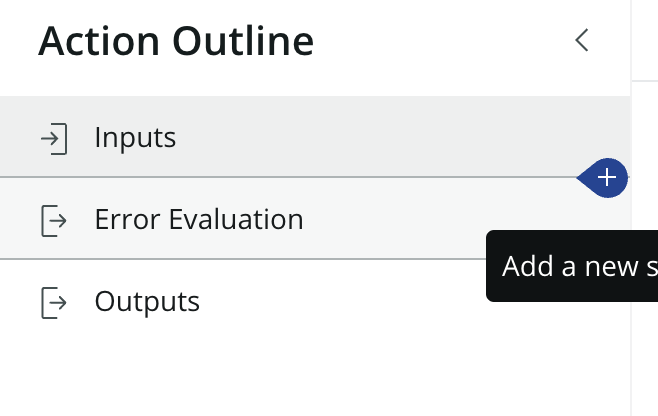
Search for rest and select the REST option
If the REST option does not appear then you have not activated the IntegrationHub plugin. Follow the instructions in the prerequisites section.

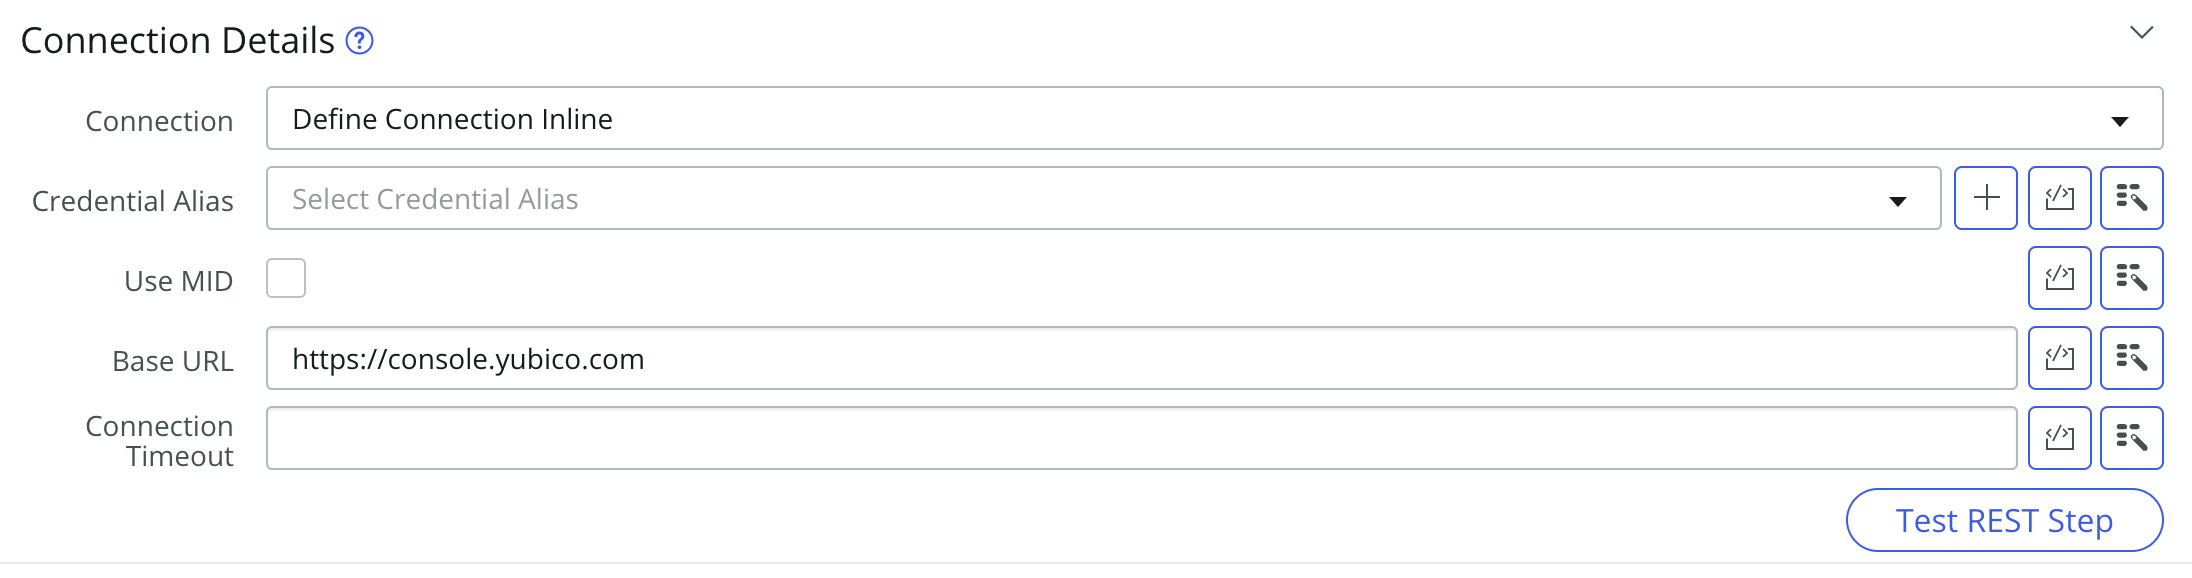
Connection details
First we will configure the connection to the YubiEnterprise endpoint. Unlike the previous request, we do not need to supply the API token as we are calling the /.well-known endpoint on the YubiEnterprise Console (this will also change the base URL used by the steps in this action).
Ensure that the Connection field is set to Define Connection Inline.
Change the Base URL to https://console.yubico.com
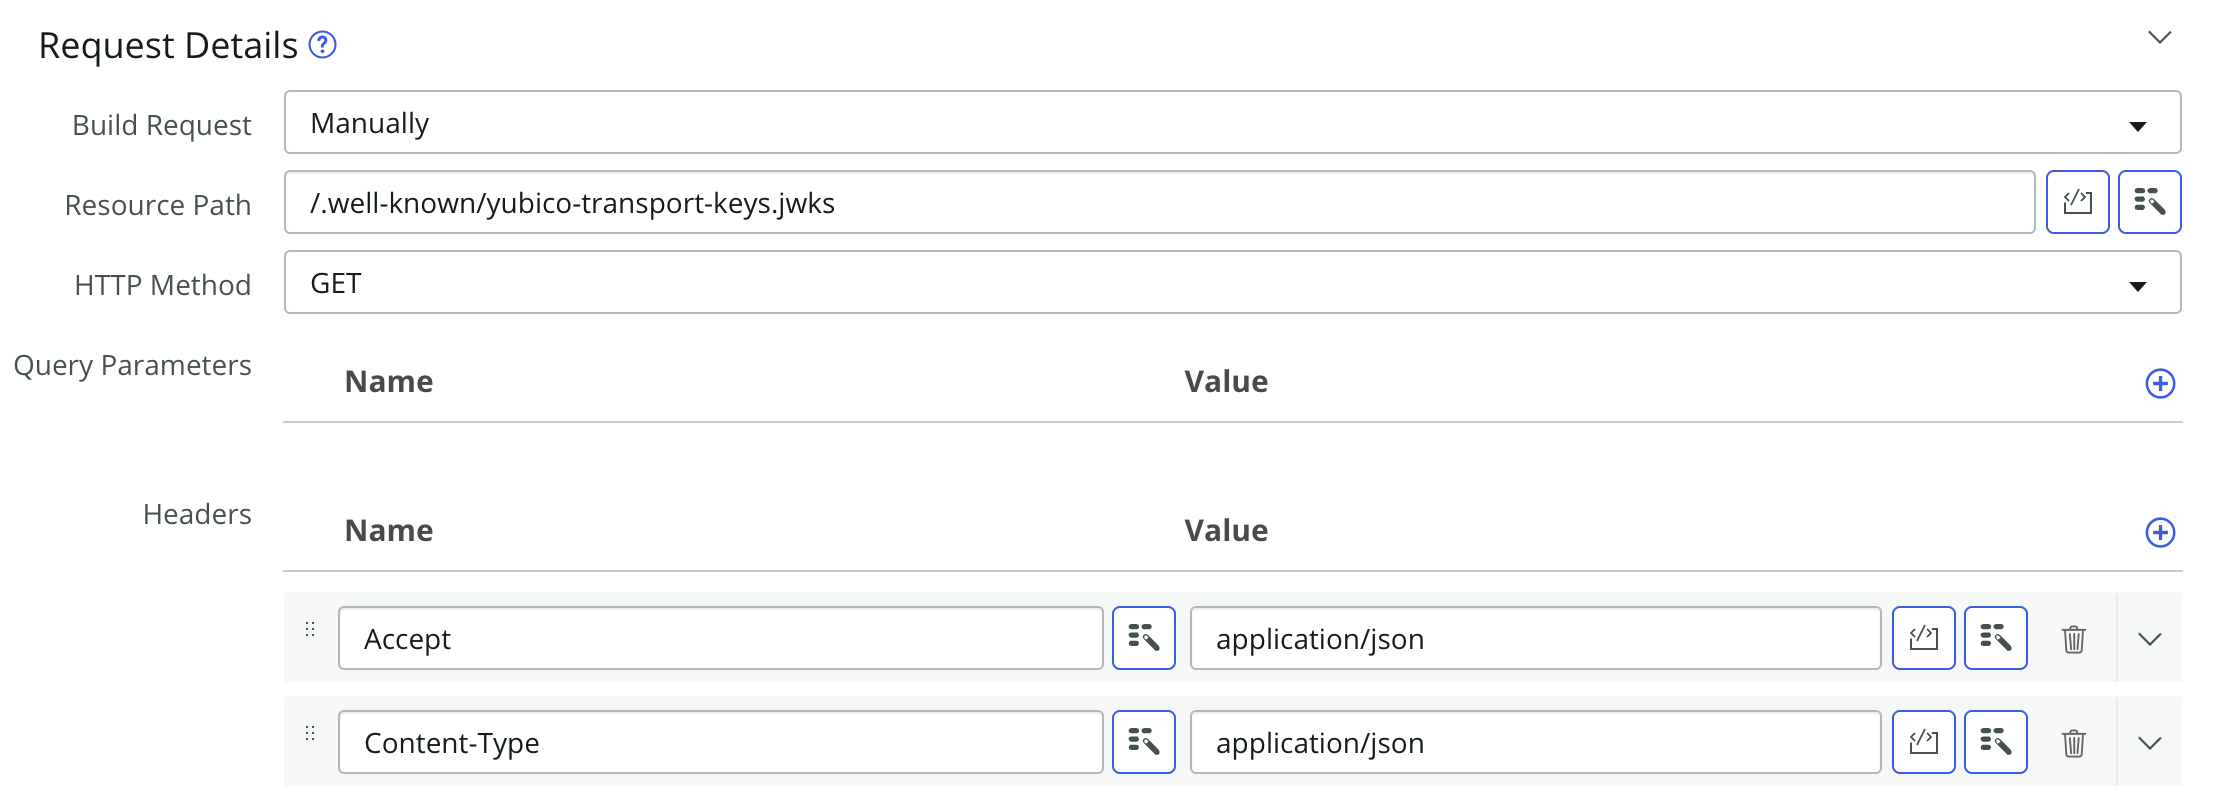
Request details
Next we will configure the details of the API method call.
Configure the Request Details section with the following values:
- Build Request: Manually
- Resource Path: /.well-known/yubico-transport-keys.jwks
- HTTP Method: GET
API REST call - Signing keys
Next we will configure the action step for making the REST HTTP call to get the signing keys
On the left side, in the Action Outline, click the bottom blue + button.

Search for rest and select the REST option
If the REST option does not appear then you have not activated the IntegrationHub plugin. Follow the instructions in the prerequisites section.
Connection details
First we will configure the connection to the YubiEnterprise endpoint. Unlike the previous request, we do not need to supply the API token as we are calling the /.well-known endpoint on the YubiEnterprise Console (this will also change the base URL used by the steps in this action).
Ensure that the Connection field is set to Define Connection Inline.
Change the Base URL to https://console.yubico.com
Request details
Next we will configure the details of the API method call.
Configure the Request Details section with the following values:
- Build Request: Manually
- Resource Path: /.well-known/yubico-sign.jwks
- HTTP Method: GET

Action outputs
Lastly we will define the outputs of the action. These outputs will be usable by the final flow that will orchestrate the ordering experience. We want to ensure that the action outputs are able to provide both sets of keys to the methods that require it.
We will start by clicking the Outputs tab in the Action Outline pane.
Next we are going to configure the outputs.
For each row in the table below, perform the following steps:
- Click the +Create Output button at the top.
- Fill in the input using the data provided below to the corresponding field (Note: Unlike the previous examples, the Name field is not auto-populated).
| Label | Name | Type | Mandatory |
|---|---|---|---|
| Transport Keys | transport_keys | String | on |
| Signing Keys | signing_keys | String | on |
Your actions outputs menu should look like the example below.

Once complete, press the Exit Edit Mode button on the top of the menu.
A new menu should appear showing the outputs you just defined with empty Value fields. For each output, you will add a data pill from the REST step and the second Script step sections on the right side of the menu
Use the table below to correlate the correct data pill to a label.
| Label | Section > Data pill |
|---|---|
| Transport Keys | REST step (1) > Response Body |
| Signing Keys | REST step (2) > Response Body |
Your actions outputs menu should look like the example below.

Click Save once your outputs are complete
Publish the action
If everything looks good, click the Publish button at the top of the action menu to make the action available for all flows.