Send PIN
In this step we will configure an action to send the randomly generated PIN to the recipient of the YubiKey. This PIN is used to perform user verification with the YubiKey, and will prevent the use of the YubiKey and pre-registered credential without it. For Okta specifically, this PIN can also be sent from the admin dashboard. The PIN can continue to be resent to the user, but will become unavailable after the user's first successful authentication against Okta.
Action properties
On the ServiceNow home screen, search for flow designer.
Click Flow Designer, a new window should open.

Once the Flow Designer page opens, click the Create new button, then select Action.

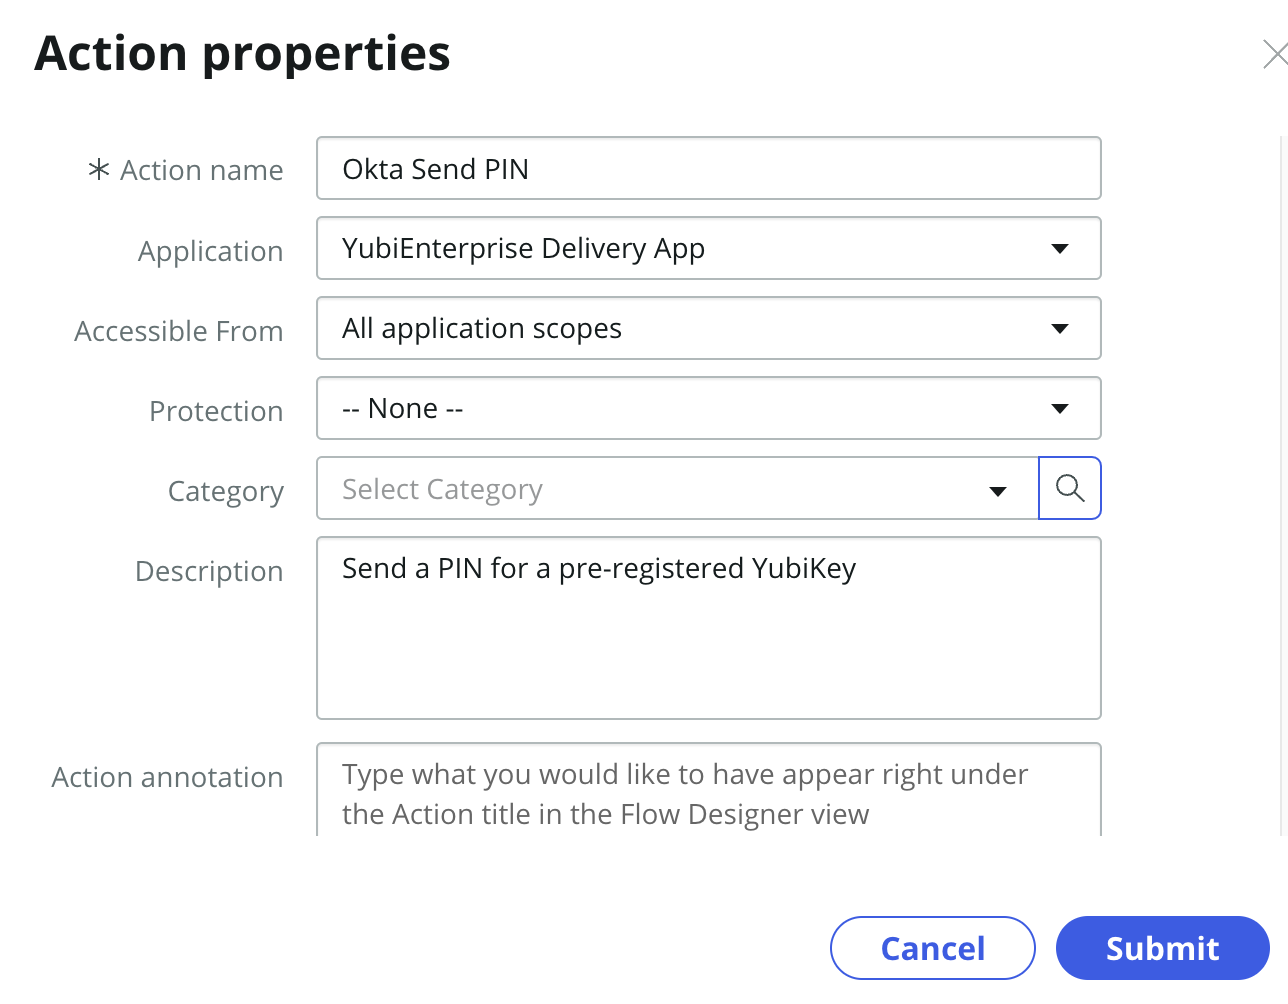
A menu will appear to configure the action's properties. Use the following values to initialize your action.
- Action name: Okta Send PIN
- Application: YubiEnterprise Delivery App
- Description: Send a PIN for a pre-registered YubiKey

Click Submit.
Action inputs
Next we are going to configure the inputs that go into the action. These inputs are the parameters that are going to be passed into our API call by our flow.
For each row in the table below, perform the following steps:
- Click the +Create Input button at the top.
- Fill in the input using the data provided below to the corresponding field (note that name will be automatically input).
| Label | Type | Mandatory |
|---|---|---|
| User ID | String | on |
| Authenticator Enrollment ID | String | on |
| Fulfillment Provider | String | on |
Your actions input menu should look like the example below.

Click Save once your inputs are complete.
Input script
Next, we will pass our inputs through a script to format the request body for the Okta API call.
On the left side, in the Action Outline, click the blue + button.

Search for scripts and select the Script option

Script inputs
We'll start by creating inputs for the script. This will utilize the same inputs that we defined in the previous step (yes, sadly this does need to be repeated).
For each of the items in the table below, do the following steps:
- Click the +Create Variable button
- Set the name using the name provided in the table below (warning: these values are case sensitive)
- Drag the corresponding data pill from the right side Data menu
| Name (case sensitive) | Data pill |
|---|---|
| fulfillmentProvider | Fulfillment Provider |
| authenticatorEnrollmentId | Authenticator Enrollment ID |
| userId | User ID |
Your script inputs menu should look like the example below.

Adding the script
Next we are going to add a script to Script field. Copy the script provided below into the Script field.
(function execute(inputs, outputs) {
  outputs.request_body = JSON.stringify({
    fulfillmentProvider: inputs.fulfillmentProvider,
    userId: inputs.userId,
    authenticatorEnrollmentId: [inputs.authenticatorEnrollmentId],
  });
})(inputs, outputs);
Script outputs
Lastly, we will add the output variable for the script. This will pass the JSON object that we created in the previous step to the action component that will make the HTTP REST call to the YubiEnterprise Delivery API.
In the Output Variables section, click the +Create Variable button.
Set the single output using the variables below:
- Label: request_body
- Name: Will be auto populated based on the label
- Type: String (default)
- Mandatory: on
Your script outputs menu should look like the example below.

Click Save once your script is ready.
API REST call
Next we will configure the action step for making the REST HTTP call to Okta's API.
On the left side, in the Action Outline, click the bottom blue + button.

Search for rest and select the REST option
If the REST option does not appear then you have not activated the IntegrationHub plugin. Follow the instructions in the prerequisites section.

Connection details
First we will add our API credentials to the REST call. We will utilize the connection alias that was created earlier in this guide.
Ensure that the Connection field is set to Use Connection Alias.
Change the Connection Alias to the Okta option created earlier in the guide. The Base URL should be set automatically based on the connection alias.
Your connection details should look like the example below.

Request details
Next we will configure the details of the API method call. We will be utilizing the POST /webauthn-registration/api/v1/send-pin API method
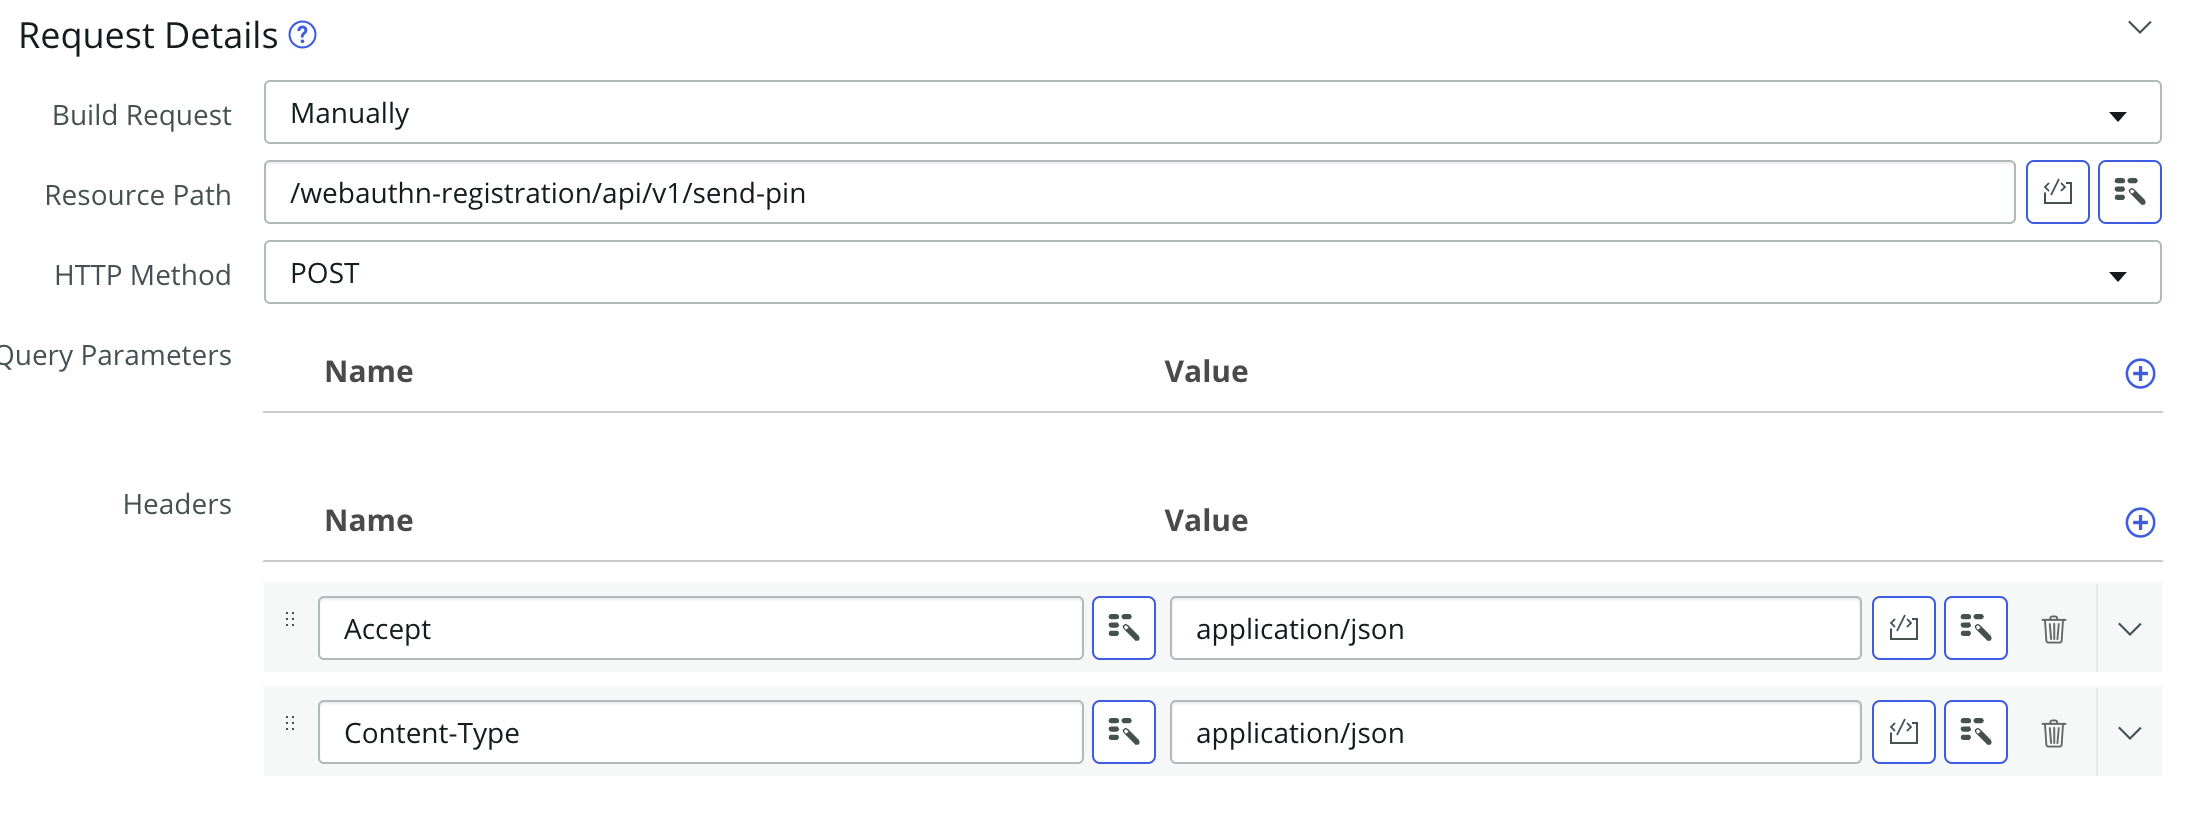
Configure the Request Details section with the following values:
- Build Request: Manually
- Resource Path: /webauthn-registration/api/v1/send-pin
- HTTP Method: POST
The Headers should include two header properties using the values below
| Name | Value |
|---|---|
| Accept | application/json |
| Content-Type | application/json |
Your request details should look like the example below.

Request content
Next we will add data to the body of our POST request. We will utilize the output of the previous script step. In the Request Content section, set the following values
- Request Type: Text
- Request Body: Drag the request_body data pill from the Script step section on the right side of the menu.
Your request content should look like the example below.

Click save once your API call is complete
Action outputs
Lastly we will define the outputs of the action. These outputs will be usable by the final flow that will orchestrate the ordering experience. We want to ensure that the action outputs are able to express details about the new credential activation.
We will start by clicking the Outputs tab in the Action Outline pane.

Next we are going to configure the outputs.
For each row in the table below, perform the following steps:
- Click the +Create Output button at the top.
- Fill in the input using the data provided below to the corresponding field (Note: Unlike the previous examples, the Name field is not auto-populated).
| Label | Name | Type | Mandatory |
|---|---|---|---|
| Status Code | status_code | String | on |
Your actions outputs menu should look like the example below.

Once complete, press the Exit Edit Mode button on the top of the menu.
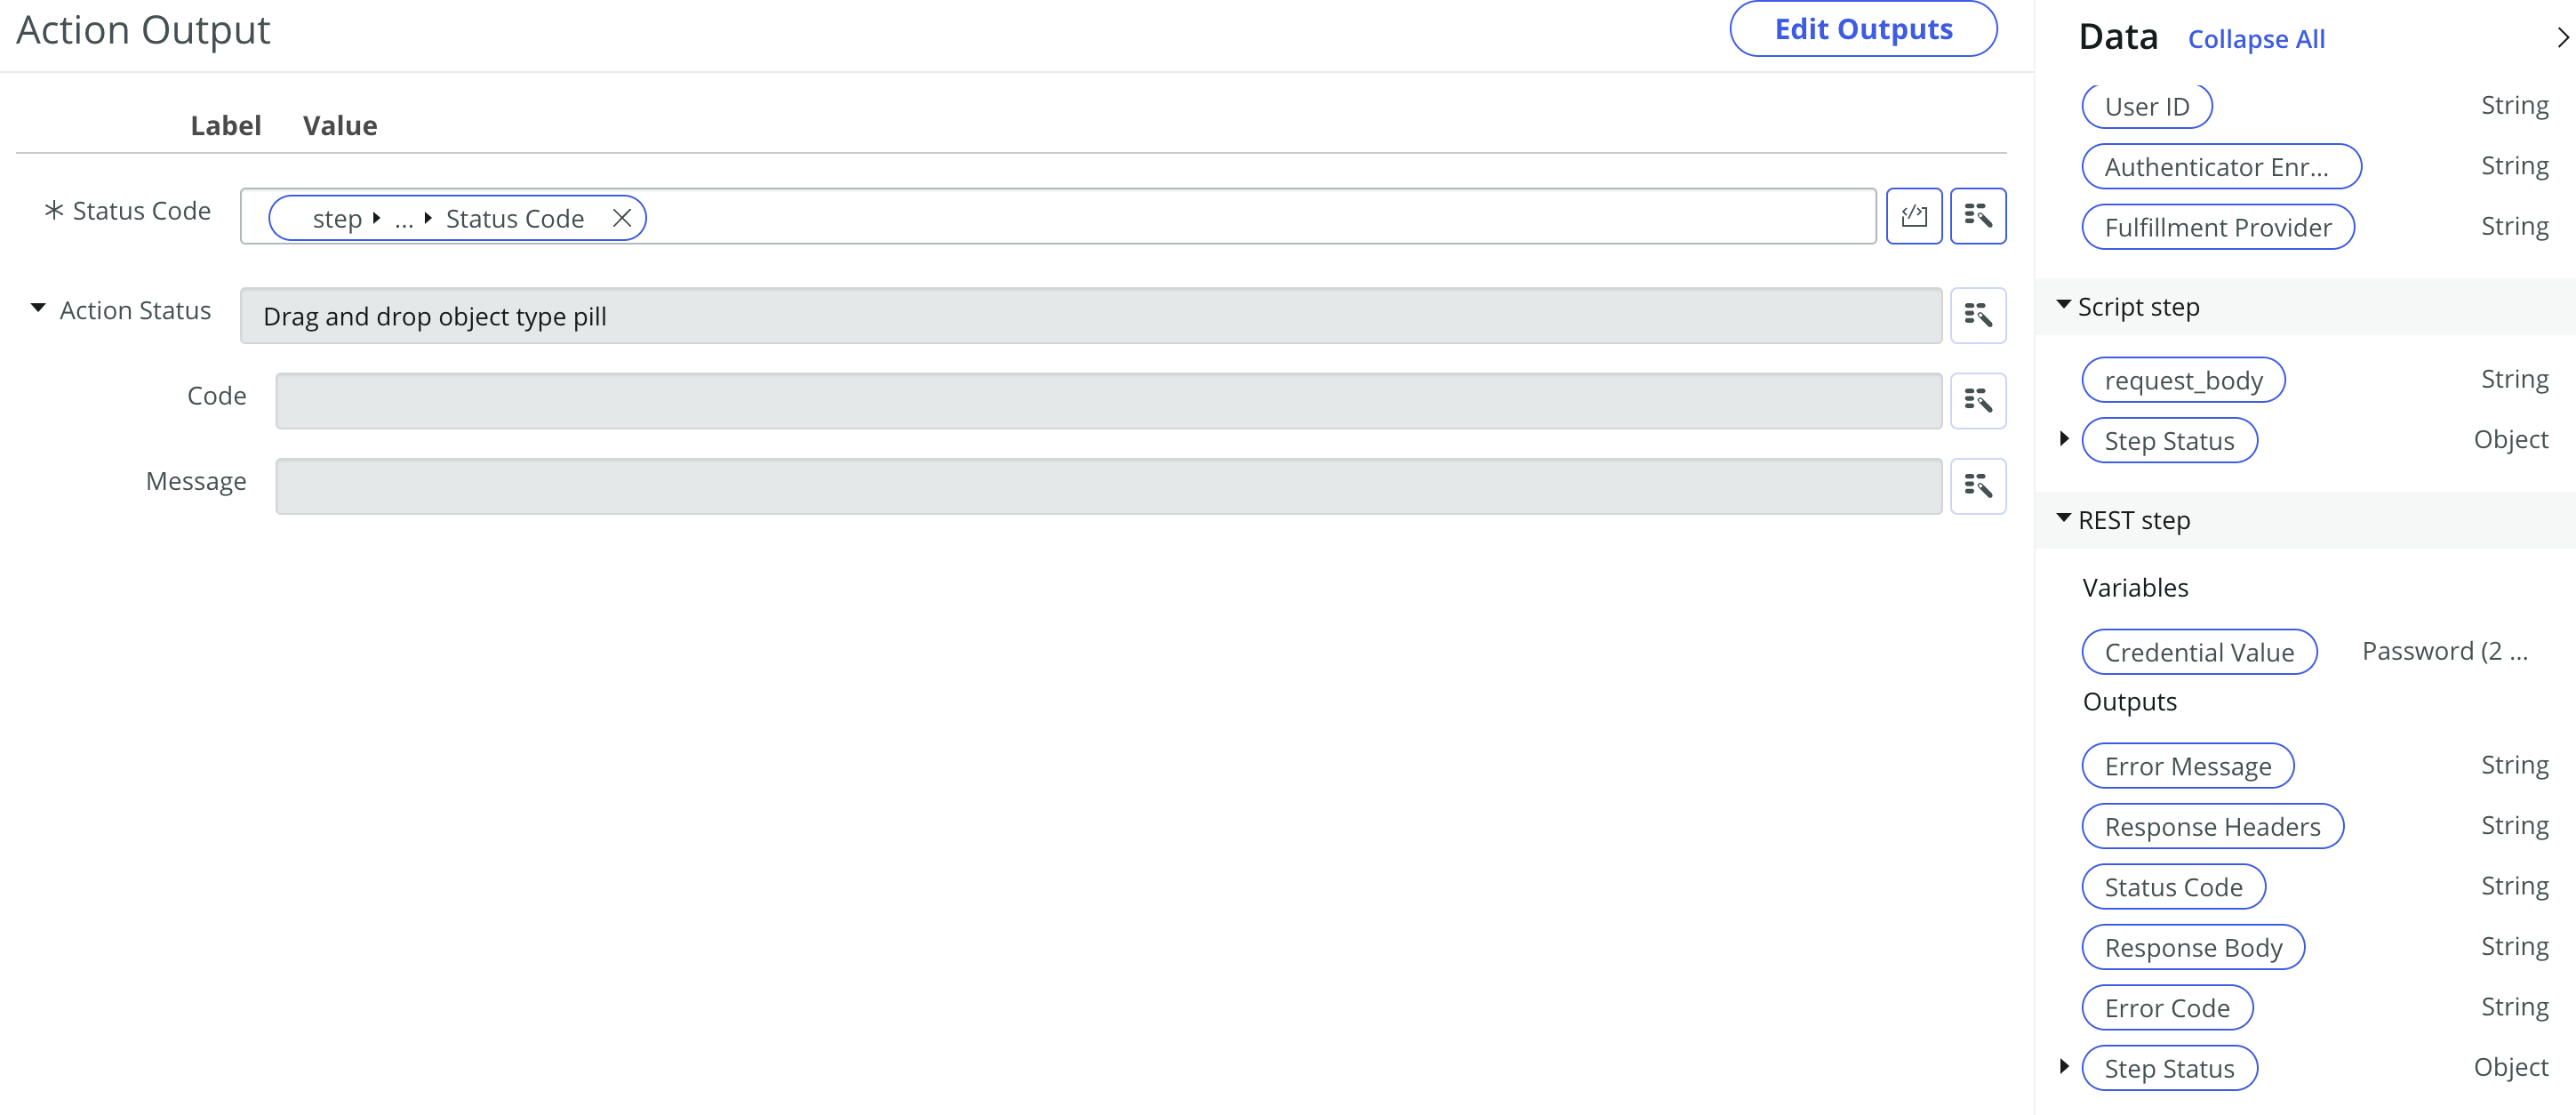
A new menu should appear showing the outputs you just defined with empty Value fields. For each output, you will add a data pill from the REST step and the second Script step sections on the right side of the menu
Use the table below to correlate the correct data pill to a label.
| Label | Section > Data pill |
|---|---|
| Status Code | REST step > Status Code |
Your actions outputs menu should look like the example below.

Click Save once your outputs are complete
Publish the action
If everything looks good, click the Publish button at the top of the action menu to make the action available for all flows.